time:Apr 18, 2025 source:ZEXCIT
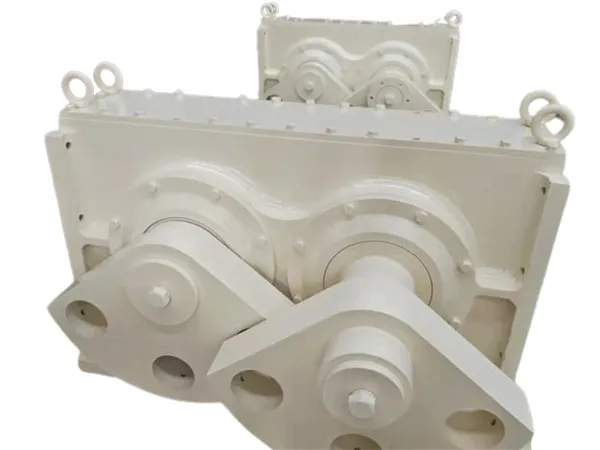
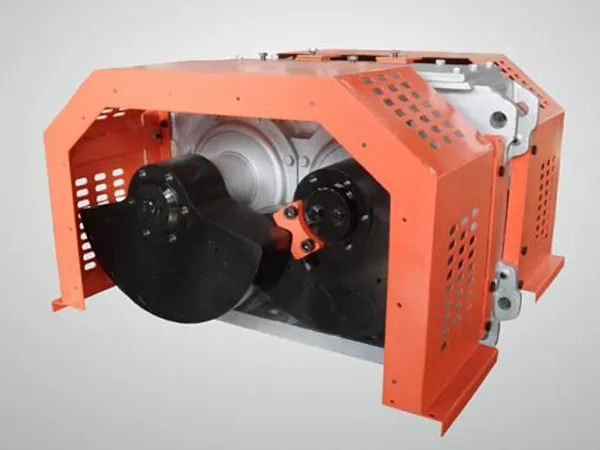
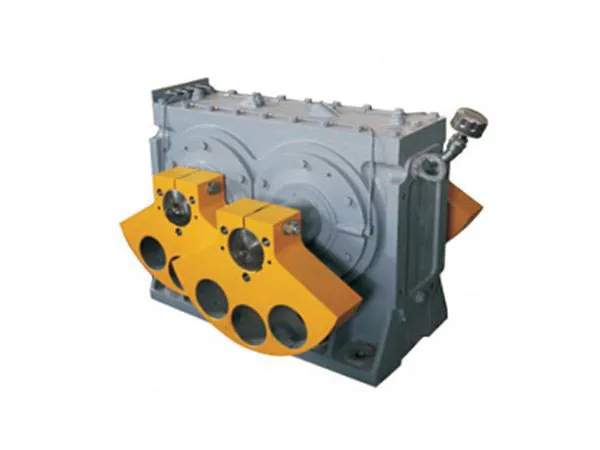
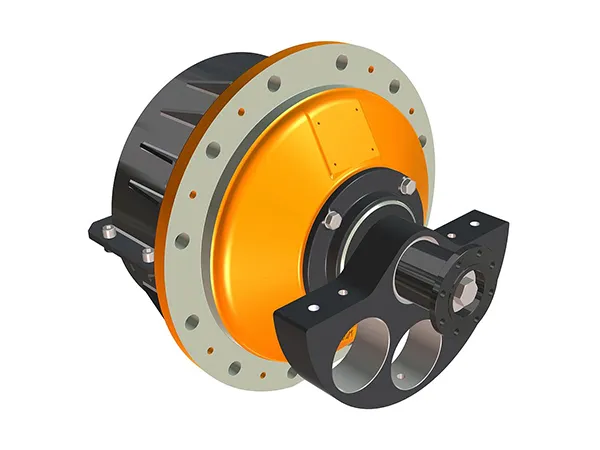
The vibrating screen exciter is a crucial component in screening equipment, responsible for generating the vibratory motion that enables material separation. Proper installation of the exciter is essential for ensuring the optimal performance, longevity, and safety of vibrating screens.
This guide provides step-by-step instructions for the correct installation of various types of screen exciters, covering preparation, alignment, fastening, lubrication, and initial testing. Whether for new equipment setup or replacement of existing exciters, following these guidelines will help reduce downtime and prevent premature wear or mechanical failure.

Verify Parts:
Confirm you have the correct exciter model and configuration (rotation, mounting type) for the specific screen and position.】
Inspect the exciter for any shipping damage. Report any damage immediately.
Ensure you have the correct quantity, size, grade (typically Grade 8 or Metric 10.9), and length of new mounting bolts, hardened washers, and nuts (if applicable). Never reuse old mounting bolts.
Check if seals, O-rings, or gaskets are required and supplied.
Gather Tools & Equipment:
Calibrated Torque Wrench (appropriately sized for required torque values)
Socket Set and Wrenches (correct sizes for mounting bolts)
Lifting Equipment (crane, hoist, slings, shackles)
Alignment Tools (straight edge, dial indicators, laser alignment tool if connecting drive shafts)
Cleaning Supplies (wire brushes, scrapers, rags, solvent)
Pry Bars (use cautiously)
Anti-Seize Compound (check manufacturer recommendation)
Thread Locking Compound (check manufacturer recommendation, e.g., Loctite)
Lubricant (correct type and grade of oil or grease as specified by the manufacturer)
Measuring Tools (tape measure, feeler gauges)
Manufacturer's Installation Manual and Screen Drawings
Prepare the Screen:
Thoroughly clean the exciter mounting surface(s) on the screen side box or exciter support beam. Remove all old gasket material, sealant, rust, dirt, grease, and paint. The surface must be clean, dry, and flat.
Inspect the mounting surface for flatness, cracks, or damage. Repair as necessary according to manufacturer specifications.
Clean out the bolt holes. Ensure threads (if tapped) are clean and undamaged. Chase threads with a tap if necessary, but do not remove significant material.
Prepare the Exciter:
Clean the mounting flange(s) of the new exciter.
Verify the correct orientation for installation (e.g., oil level plugs, breathers, rotation direction).
Check if the exciter is shipped pre-filled with lubricant or requires filling after installation. Note the required lubricant type and quantity.
If applicable, ensure mating surfaces for drive couplings or pulleys are clean.

Lifting and Positioning:
Attach lifting slings/chains to the designated lifting points on the exciter.
Carefully lift the exciter and maneuver it into position against the screen mounting surface.
Align the bolt holes on the exciter flange with the holes on the screen structure. Guide pins can be helpful.
Ensure the exciter is seated flush against the mounting surface. Check for gaps using feeler gauges if necessary. Address any issues preventing flat contact.
Installing Mounting Hardware:
Apply anti-seize or thread locker to bolt threads only if specified by the manufacturer. Follow their exact recommendations.
Install new, correct-grade bolts and hardened washers. Ensure washers are placed under the bolt head (and nut, if used).
Hand-tighten the bolts initially to secure the exciter in place.
Torquing Sequence (CRITICAL STEP):
Consult the manufacturer's manual for the exact required torque value and the specified tightening sequence (e.g., star pattern, cross pattern).
Using a calibrated torque wrench, tighten the bolts in stages according to the specified sequence. Common stages might be:
Stage 1: Snug Tight
Stage 2: ~50% of final torque
Stage 3: ~75% of final torque
Stage 4: 100% of final torque
Ensure even and consistent tightening. Re-check the torque on the first bolt after tightening the last one in the sequence.
Mark tightened bolts (e.g., with a paint pen) to track completion.
DO NOT OVER-TORQUE. This can damage bolts, threads, or housings.
DO NOT UNDER-TORQUE. This will lead to loosening, component damage, and potential failure.
Connecting Drive (If Applicable):
If the exciter is driven by a motor via belts, couplings, or cardan shafts:
Install pulleys, couplings, or shaft flanges onto the exciter and motor shafts. Ensure proper key fitment.
Align the drive components meticulously according to manufacturer tolerances (use straight edges, dial indicators, or laser alignment tools). Misalignment drastically reduces bearing and component life.
Install drive belts and tension them correctly per manufacturer specifications.
Install all safety guards for rotating components before operation.
Lubrication:
If the exciter was shipped empty, fill it with the manufacturer-specified type and quantity of lubricant (oil or grease).
Ensure drain plugs are tight and sealed.
Check the oil level using the sight glass or dipstick, or apply the correct amount of grease.
Ensure breather vents are clean, unobstructed, and correctly installed.

Final Inspection:
Double-check that all mounting bolts are torqued correctly.
Verify lubricant level and type.
Ensure all guards are securely installed.
Remove all tools, rags, and debris from the screen and surrounding area.
Check that the screen structure is clear and free to vibrate.
Remove LOTO: Only authorized personnel should remove locks and tags according to established procedures.
Initial Run-in (No Load):
Start the screen and run it without material load for an initial period (e.g., 15-30 minutes, or as recommended by the manufacturer).
Listen: Check for any unusual noises (grinding, knocking, rattling).
Look: Check for oil or grease leaks around seals and plugs. Observe vibration pattern – it should be smooth and consistent.
Feel/Measure (Carefully): Check the exciter bearing housing temperature. Use an infrared thermometer if available. Note the initial temperature; it will rise but should stabilize. Refer to the manual for acceptable operating temperature ranges. Excessive heat indicates a problem (lubrication, alignment, bearing issue).
Measure (Optional): If equipment is available, measure the vibration stroke/amplitude to ensure it meets specifications.
Shut Down and Re-Check:
After the initial run-in, shut down the screen and perform LOTO again.
Re-Torque Bolts: Many manufacturers require re-torquing the exciter mounting bolts after the initial run-in period (e.g., 1-4 hours of operation). Consult the manual for this critical step and the correct re-torque value.
Re-check lubricant levels.
Inspect for leaks or any signs of problems.

Document the installation date, personnel involved, torque values applied, lubricant used, and any observations during the initial run.
Inform operations personnel that the installation is complete and the screen is ready for service (after any required re-torquing is done).
Follow the manufacturer's recommended maintenance schedule for lubrication intervals, lubricant changes, inspections, and potential scheduled rebuilds.
Regularly check bolt torque, especially during the first few weeks of operation.
Disclaimer: This guide provides general information. Installation procedures vary significantly between manufacturers and models. Failure to follow the specific instructions from the equipment manufacturer can lead to equipment damage, failure, voided warranty, and serious injury. Always prioritize the manufacturer's documentation. If unsure about any step, contact the manufacturer or a qualified service provider.
What are the maintenance tips for vibrating screens?
No information

ZSK eccentrics series linear vibrating screen is a new and efficient universal screening equipment, screen box trajectory which is approximately a straight line. This series of screen machine embodies most of the advantages of a biaxial linear screen, with the most extensive scope and application prospects.
READ MORE
The DF Series Vibrator refers to a range of specialized vibrators used in various industrial applications to generate controlled vibrations. These vibrators are designed for reliability, durability, and efficiency, making them suitable for integration into equipment such as vibrating screens, feeders, conveyors, compactors, and sieves.
READ MORE
A flip flop vibrating screen is a type of vibrating screen that utilizes the principle of elasticity to effectively screen and separate fine materials. This unique design creates a flip-flop motion during the screening process, which helps prevent material blinding and pegging.
READ MORECopyright © 2023 Xinxiang Zongyuan Machinery Equipment Co., Ltd. | All Rights Reserved.